Popular posts from this blog
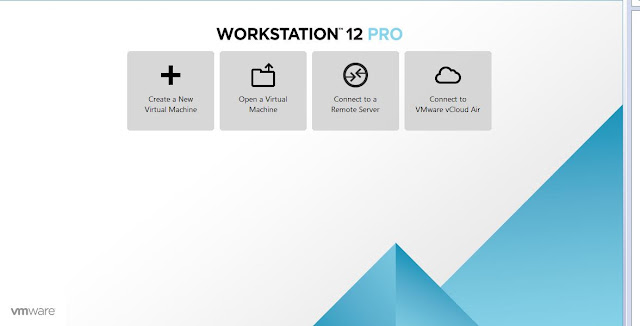
VMware Workstation 12 Installation
VMware ESXI Versions
Windows Python Installation
Windows Command Prompt Color Codes
Command Prompt Color Codes Go to run command and type cmd or Type cmd in search Default Command Prompt Color 1 - Blue Color 2 Green Color 3 Aqua Color 4 Red Color 5 Purple Color 6 Yellow Color 7 White Color 8 Gray Color 9 Light Blue Color F Bright White Color E Light Yellow Color D Light Purple Color C Light Red Color B Light Aqua Color A Light Green All color codes cmd color help
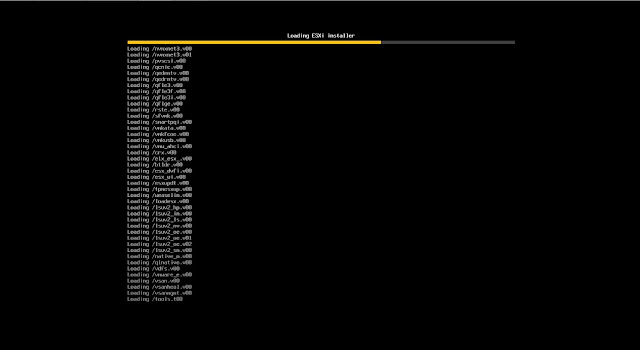
VMware ESXI 7.0 Installation
Place your Server in datacenter and connect your network cable and power on sever and place the IP address of ILO or IDRAC for taking console through remote. Select ESXI 7.0 Image to install your server Press Enter to continue the operation For license agreement press F11 button Accept and Continue Select your SDcard or Internal harddisk of server to install ESXI operating system Select your language By default root ID is there need to enter password It will ask confirm to install press F11 button It will start Process Once completed it will ask reboot the server Once reboot complete it will take DHCP server To login your server Press F2 key in your keyboard and enter the root password To change IP address of your server select configure management network Enter your IP address, subnet and degfault gateway details Enter Primary and Secondary server details of your Environment and also provide your Host name. Enter your domain name. Press ESC it will ask for reboot to ...
Create a Virtual Machine in WorkStation
Create a New Virtual machine Select Typical we will select operating system later Select your Operating system based on your requirement eg Linux Provide your Virtual machine name and Destination location which location VM need to deploy Specify your Harddisk Size of your OS Ready to create a virtual Machine. Go Edit setting we can increase CPU, Memory Need to select ISO image on your local drive Linux Installation REDHAT 8.0
Nessus Professional installation in kali linux
Custom domain setup to blogger
Custom domain setup of my blogger step by step procedure. 1.Login to Blogger 2.Registered domain name in godaddy or other domain registration sites. Go to settings à Custom Domain and enter the domain details Once Enter the custom details it will show some errors messgaes like www destination ghs.google.com and one more destination value make it note these 2 things. My custom domain is registered in godaddy website and go to DNS setup Need to change cname for names of www value and also name _domainconnect value _domainconnect.gd.domaincontrol.com Go godaddy website and click dns setup page and enter your Blogger details Blogger Details Enter domain www.admintutorials.com details and click save Successfully completed custom domain name in blogger. Now entered my domain name in chrome browser www.admintutorials.com. I am able to access with my custom domain name
Comments
Post a Comment